Mosaic Benches
City of Red Wing, Minnesota
 |
 |
 |
 |
 |
 |
 |
 |
 |
 |
 |
 |
 |
 |
 |
Click on image for a larger version.
Clay Sculpture Aquariums
Mayo Clinic – Midelfort Clinic Clairemont Campus
733 West Clairemont Avenue, Eau Claire, Wisconsin.
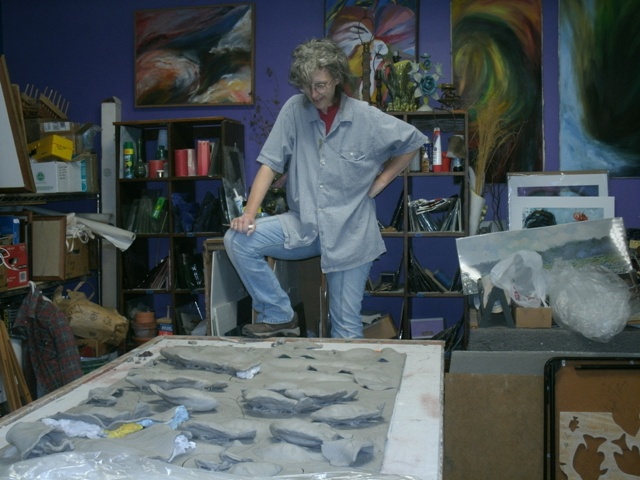
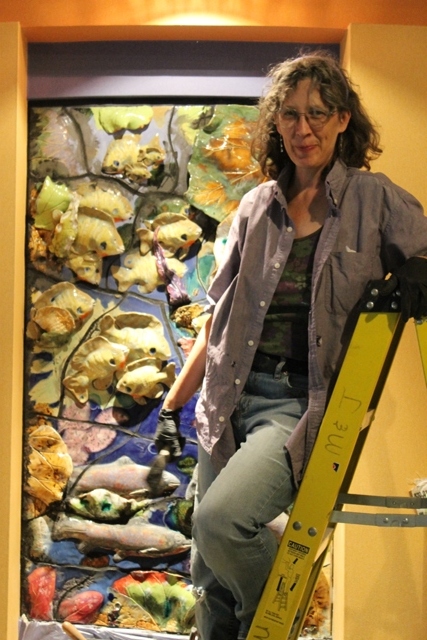
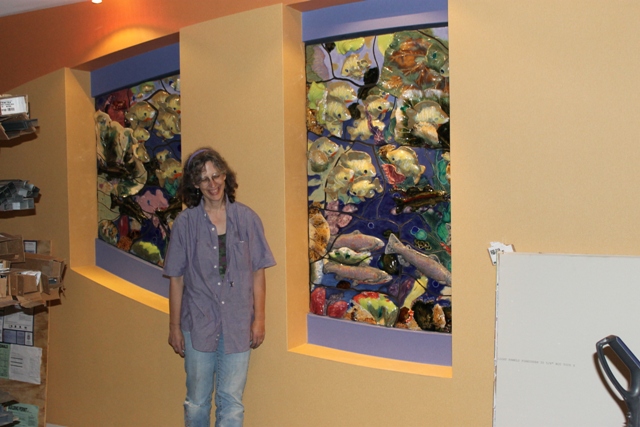
This project consists of two vertical mosaic tile pieces that contain 3D and 2D indigenous fish and plant life that my husband, John, and I will construct from clay. One piece measures approximately 10 square feet; the other 13 square feet. The pieces will be displayed side-by-side.
On this page you can watch us create this work from start to finish.
Enjoy following along with us!
For more detail, you may click on the images for a larger view.

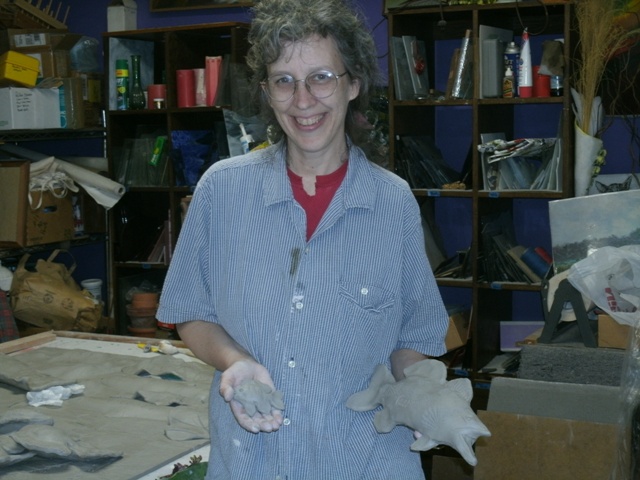
This is where it all starts—with a 25-pound block of clay. We use a mid-fire course white clay.

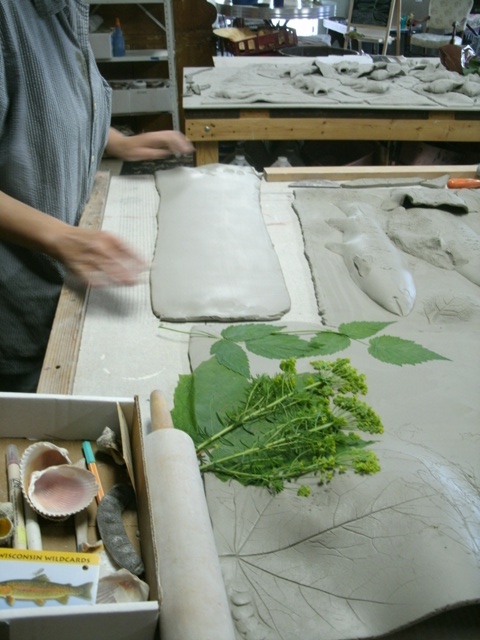
Here the clay has been rolled through the slab roller to the desired thickeness.

Drawings of the fish on wood to be cut for forming the fish.

Wood forms being cut by my husband, John, for forming the large-mouth bass.

Sanding the edges of the forms.

Wood forms ready for the clay.

Clay slumped into one half of the form.


The clay was slumped into the other half of the wooden form and the two put together.

The top half of the form removed.

Pushing the two pieces together to form the whole fish.

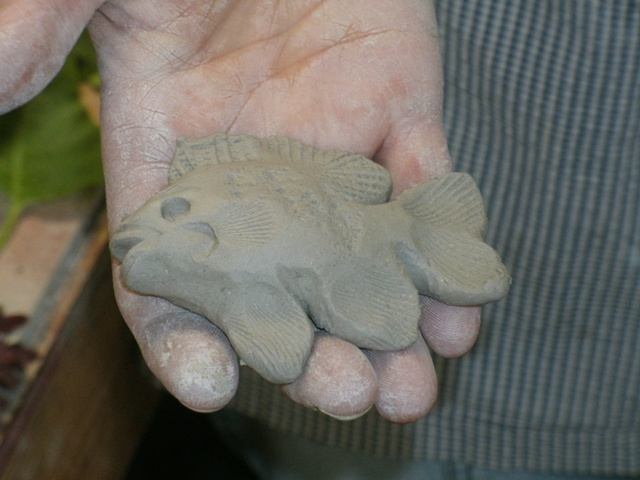
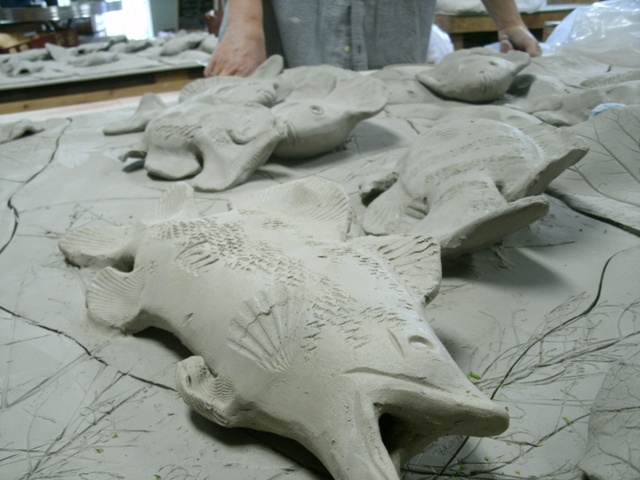
Here is the fish after removing it from the form.

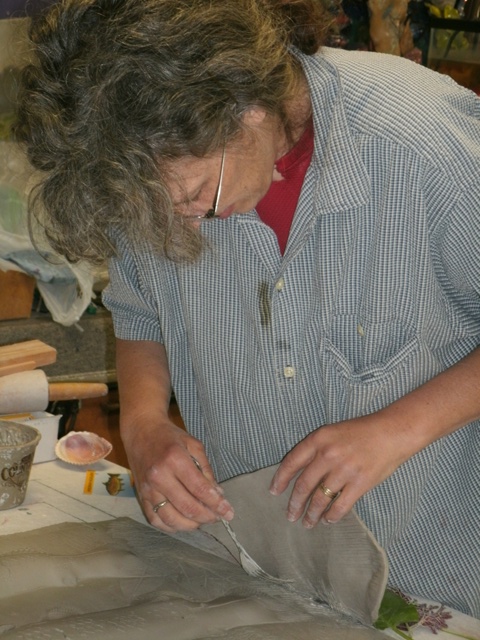
Working on the seams to finish the sunfish.

Kaye forming trout.

Two completed fish waiting in plastic to stay soft until time to attach to back panel.

Completed fish drying on racks prior to glazing.


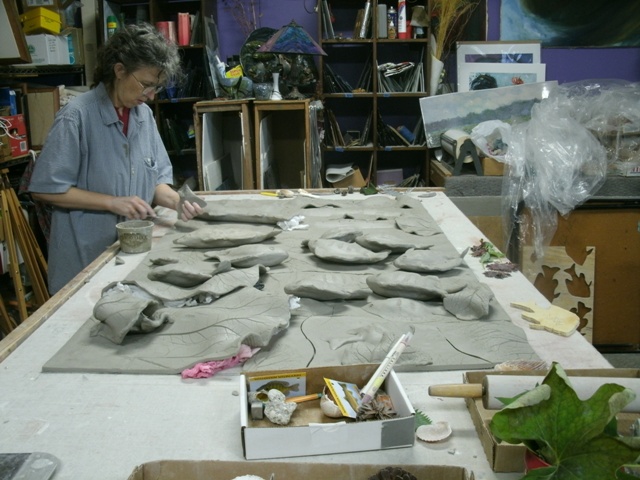
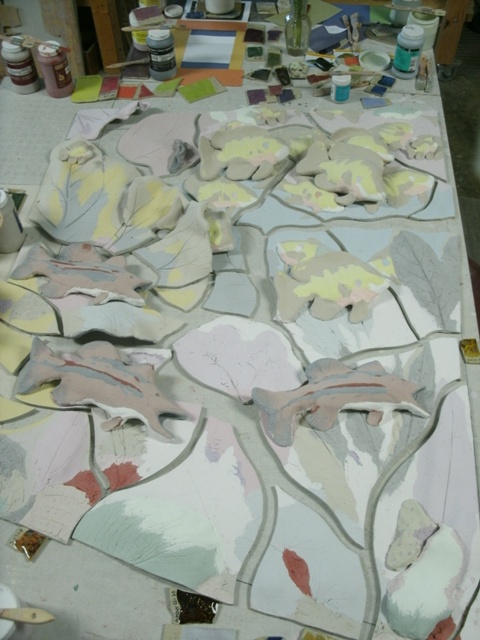
Kaye working the pieces to fit together.

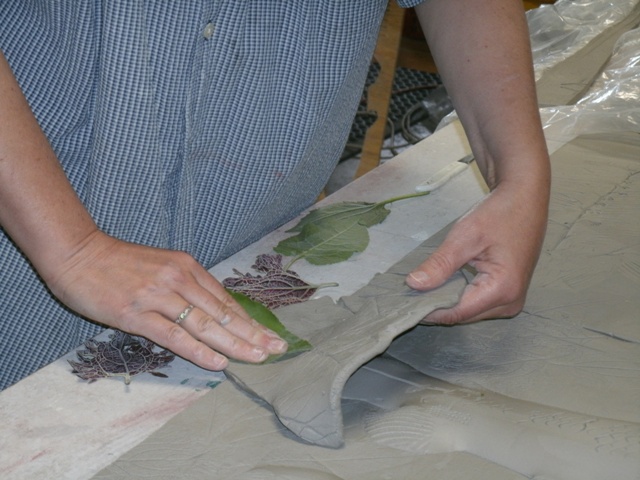
Adding large rhubarb leaf with the slumped bluegill sunfish.

Fitting in more pieces of rolled-out clay.


Leaves collected for printing into the clay making the underwater plant life


Using natural leaves and plants to imprint the seaweed forms onto the clay.


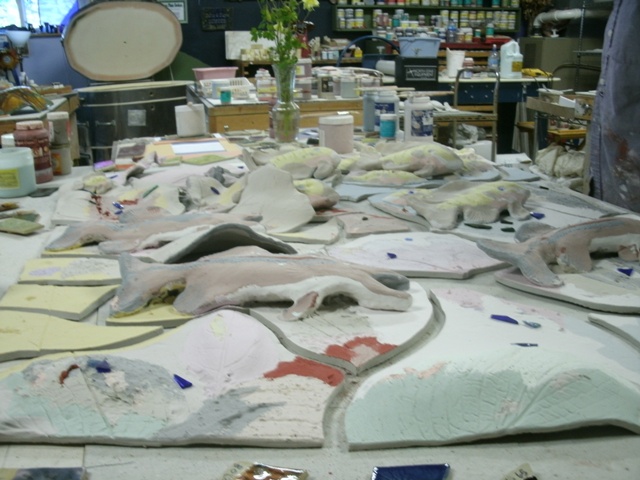
The building stage of this panel is now complete.

Now it's time to be patient, and let the clay dry.


The first panel is now dry and ready to glaze.

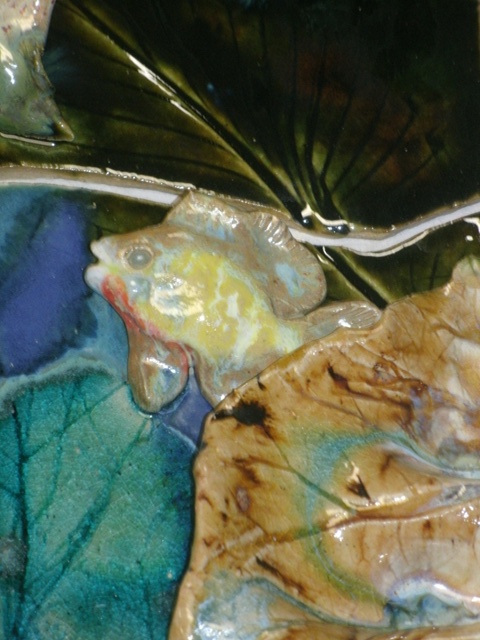
Bluegill behind seaweed.
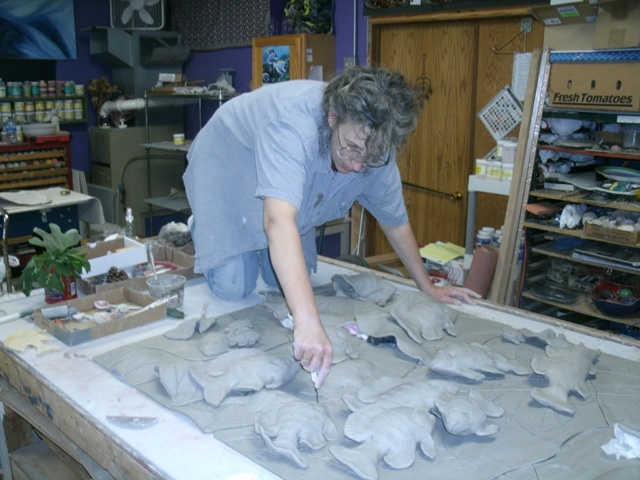
Now it's time to start the building process of the next panel of the project

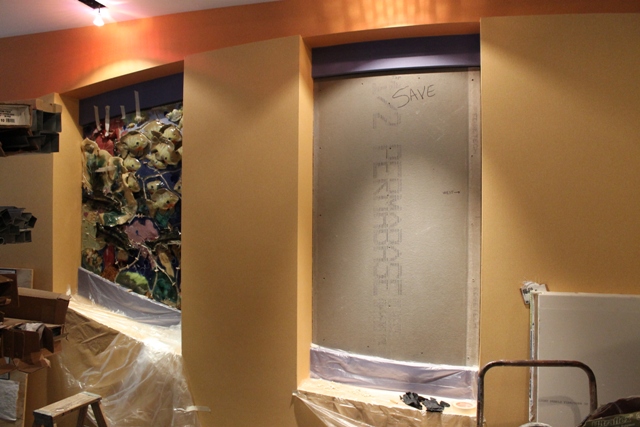
Time to start the second panel. Here is the "blank canvas." Note the two black lines – the inside line is where the finished piece will shrink down to fit the space provided. We must add one inch to every ten inches for shrinkage.

The first piece of clay with slumped bluegills as added to the back panel.

Making progress.


John rolled out a very large piece of clay for me.
Here I'm attaching a leaf to the bottom part of the panel.
Working with the last pieces of clay.
Big fish – Little fish!

Attaching leaves and fish.
Making final cuts so pieces are manageable and will fit into the kiln.
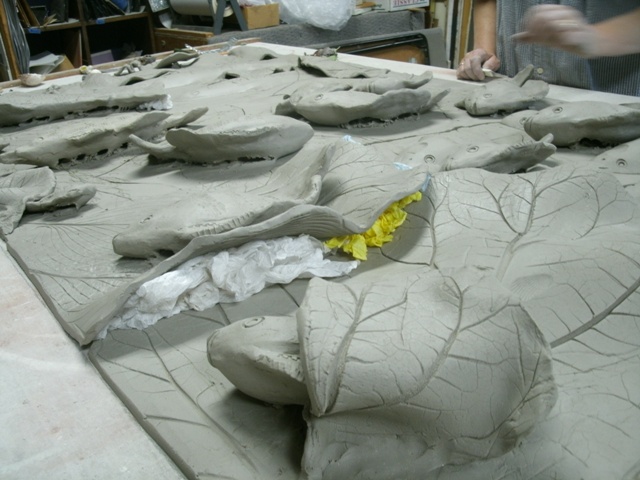
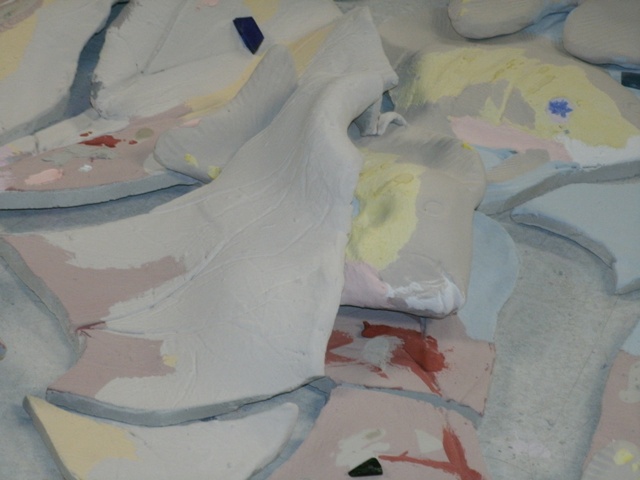
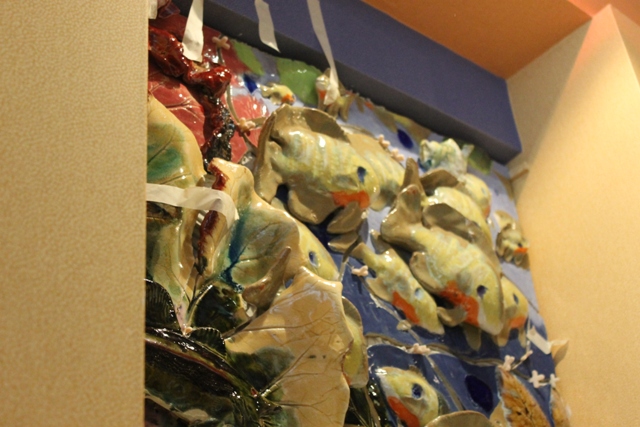
Tissue paper is used to support the leaves while drying so they don't collapse onto the back panel.
Yes, I think it is done for now! Now it has to dry.
So now I will return to the first panel while this one is drying and start the glazing process.

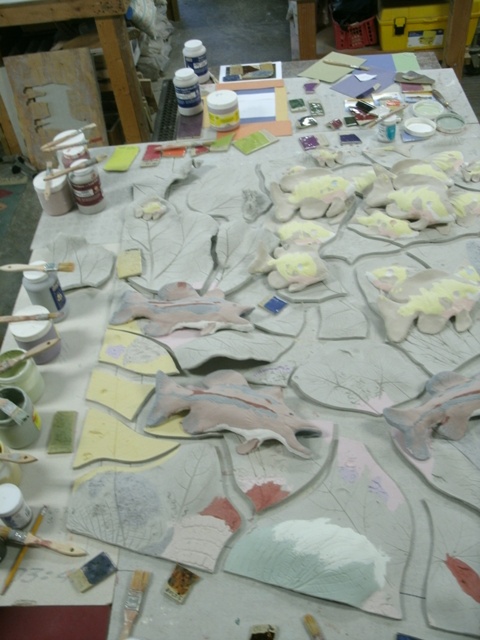
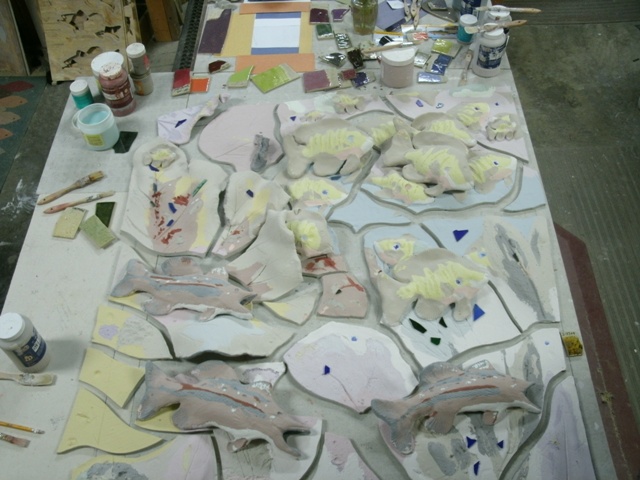
The next step is picking colors and glazing. Note the color samples, also the wallpapper samples that will be surrounding the installed art work.
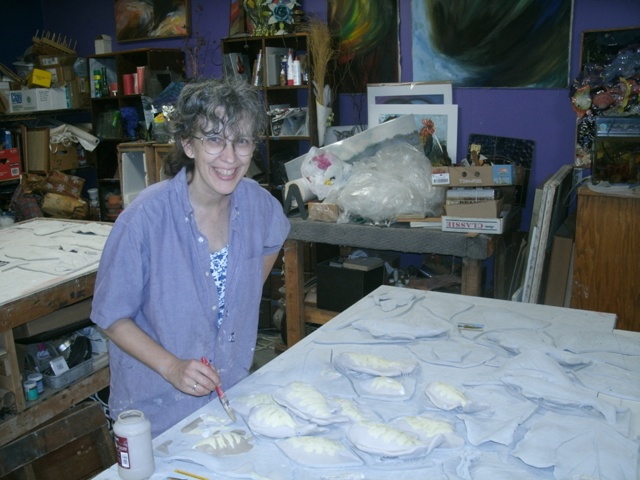

I started with glazing the bluegills.
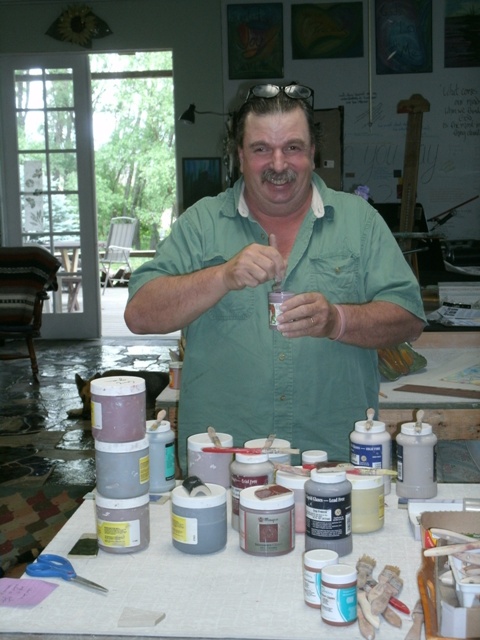
John worked on getting the glazes all ready for me, mixing and making them the right consistancy.
A big help.

Bluegills and bass almost completely glazed now.
Most of the pieces are now glazed.
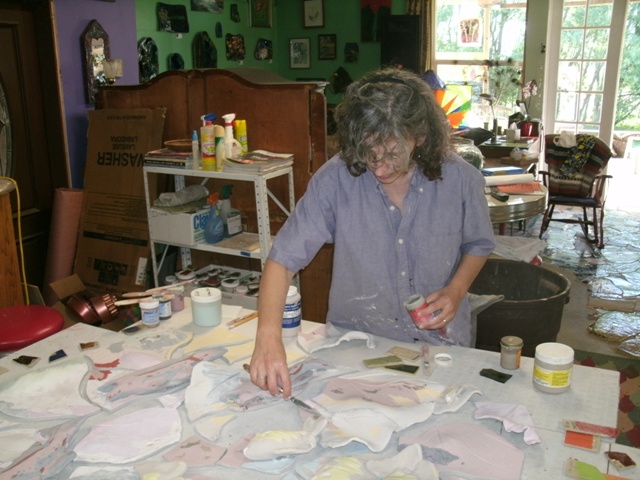
Kaye putting on the final touches and highlighting the glaze.
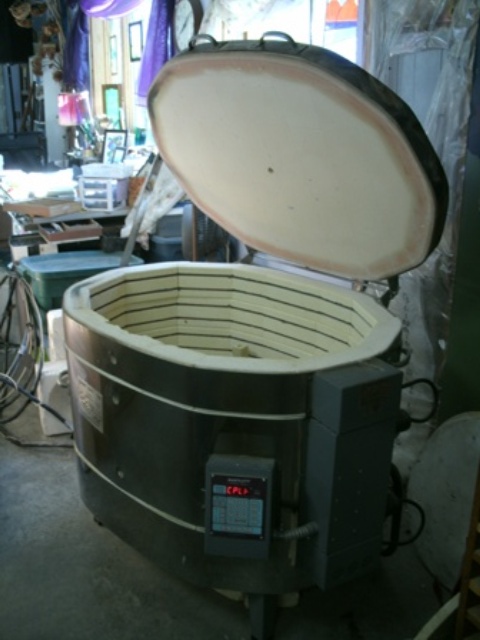
Now these pieces are ready to go into the kiln for firing. You can see some stained glass pieces set on top of the glaze that will melt into the clay during firing.
Kiln open in the background ready to fire the tile.
Bluegill and leaf glazed. Stop back again to see how he looks after the firing.
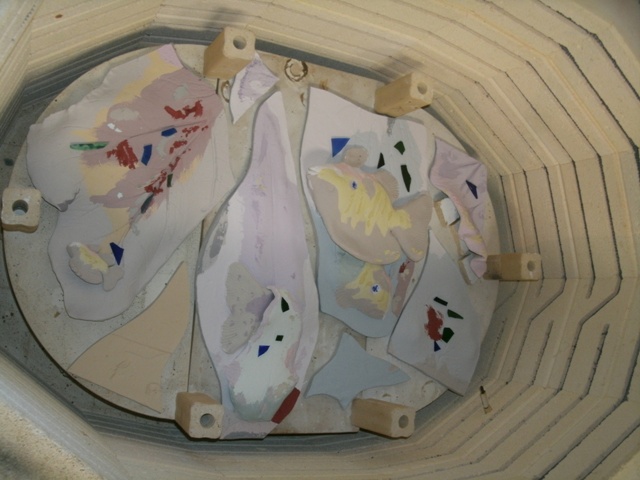
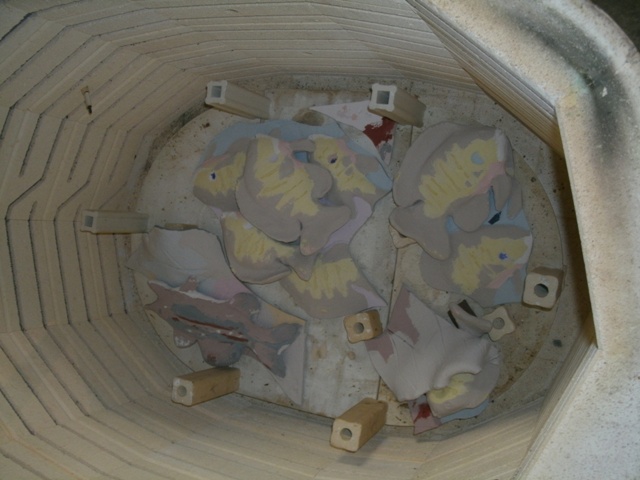
Looking down into the kiln as the glazed pieces are loaded.

Top shelf loaded and ready to fire.
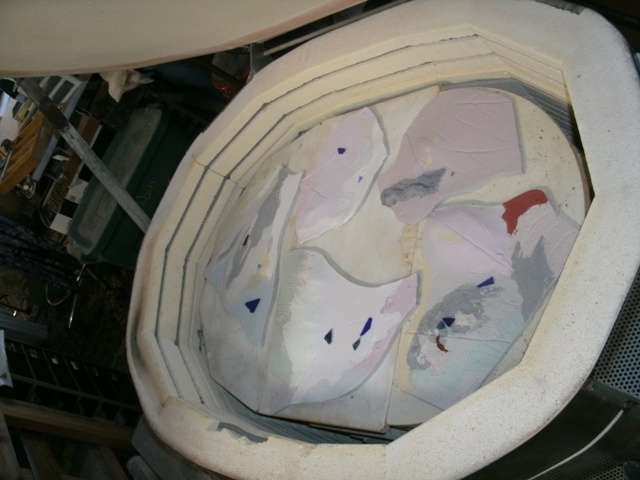
Here is the kiln waiting to be unloaded.


These are some of the fired pieces inside the kiln ready to be removed.


A Large Mouth Bass.

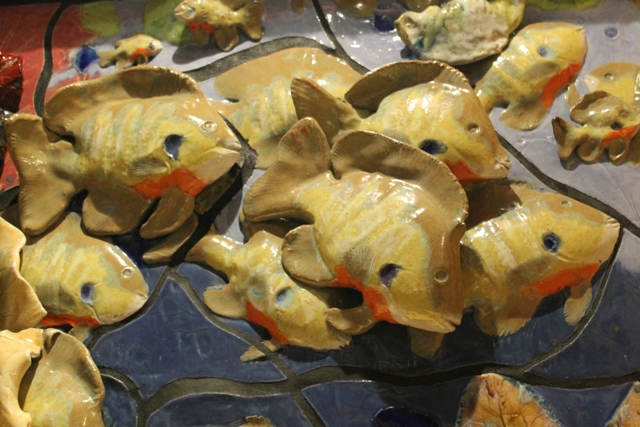
A small school of Bluegills.


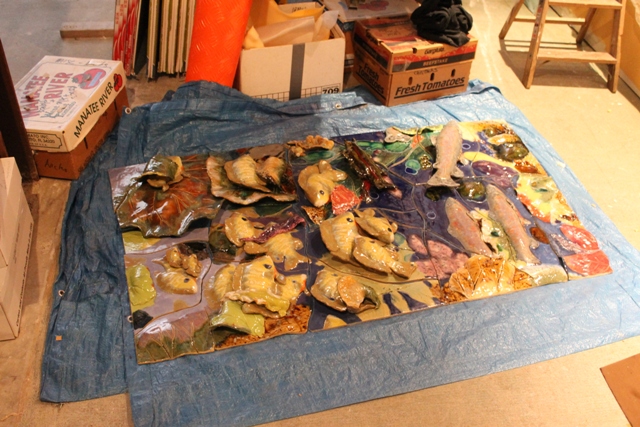
Completed panel ready to be installed on site.

The second panel of fish ready to come out of the kiln after firing.
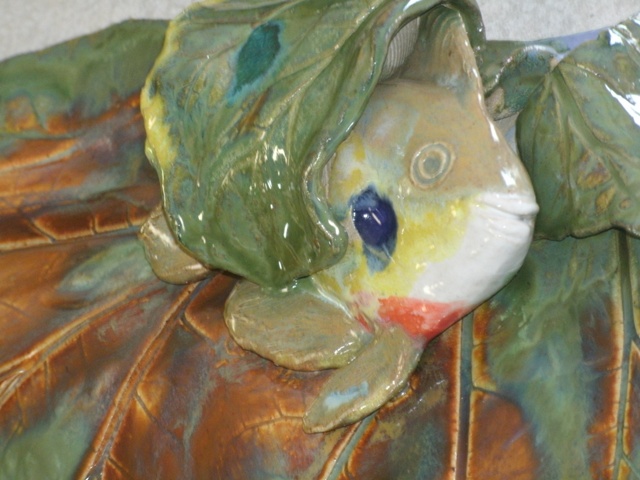

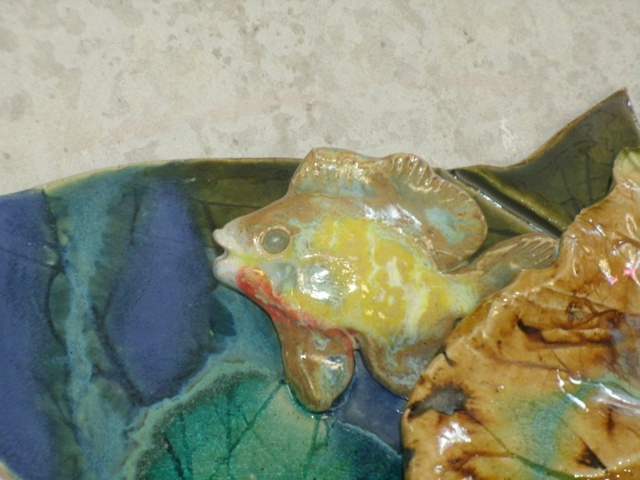
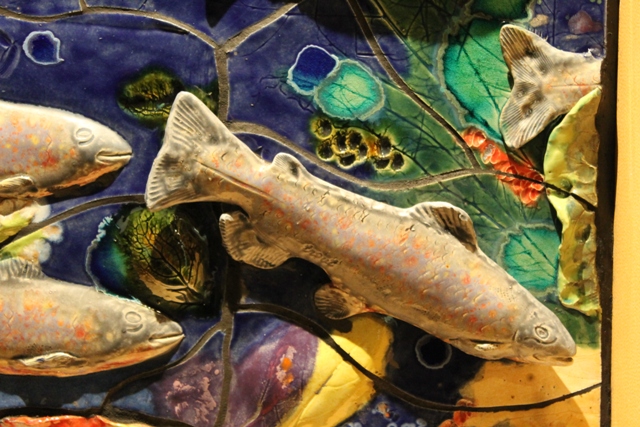
Remember the bluegill wrapped in seaweed from above? He is looking pretty sharp now after glazing and firing.
Little Fish.

The second panel is almost complete. Now we're waiting for the rest of the pieces (trout) to come out of the kiln.
Now for the final steps – the installation
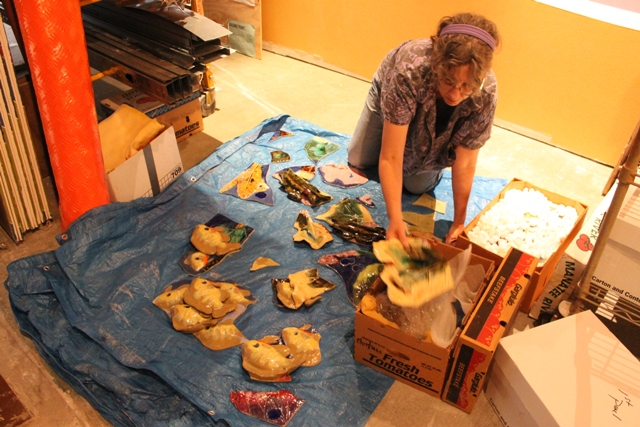
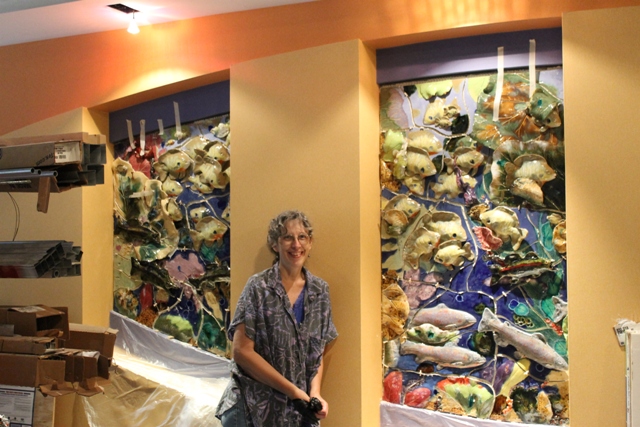
Unpacking the pieces to install.
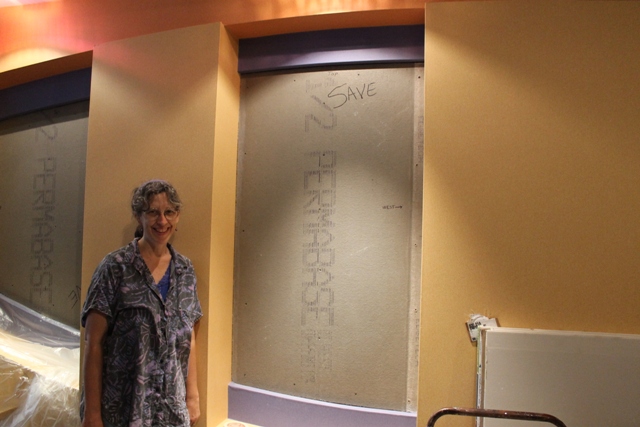
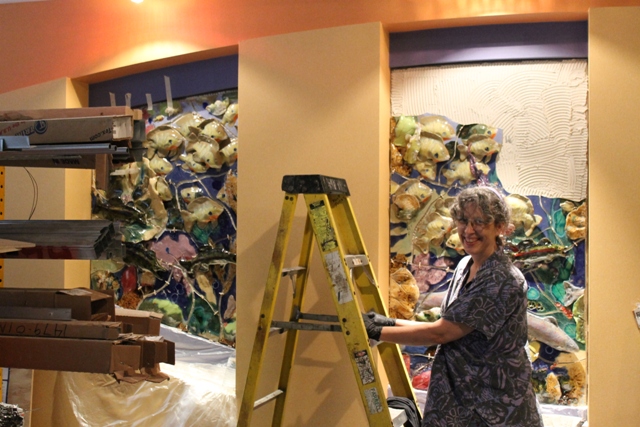
These are the two spaces that the tile will fill.

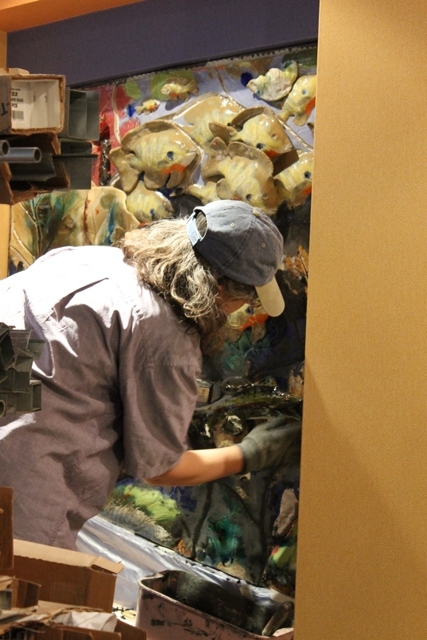
We're getting there. The tile pieces are going in nicely.
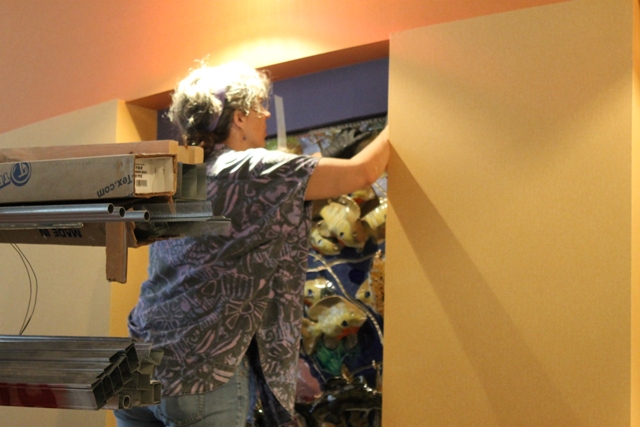
All the way to the top.
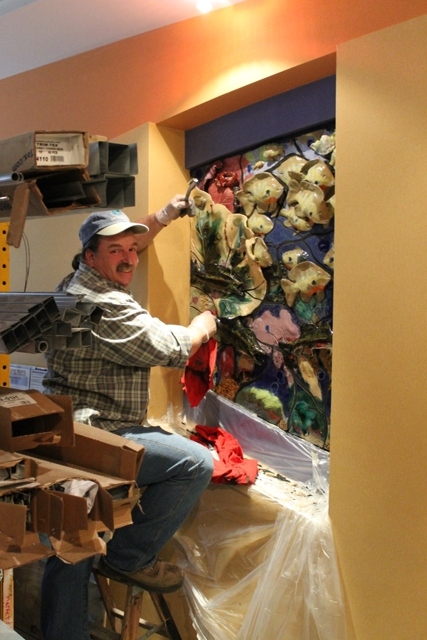
(Yes, we're working in a construction zone.)
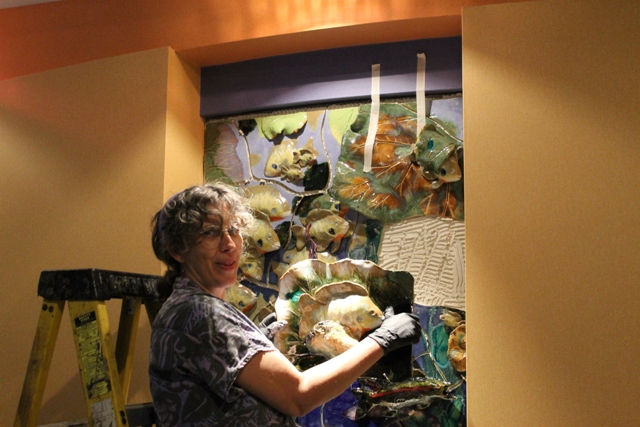
Note the tape and spacers to keep the tile in place while the mortar sets.
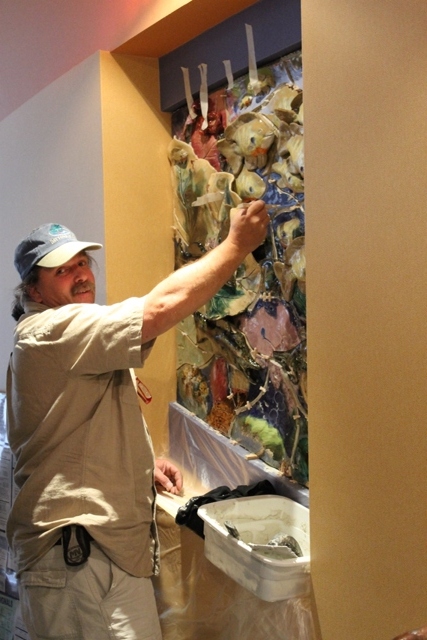
John working – it is great to have the first one all in.
Now it is time for the second panel.
Here it is laid out on the floor, and the space it is going into.

Making progress.
Yes, the last piece!
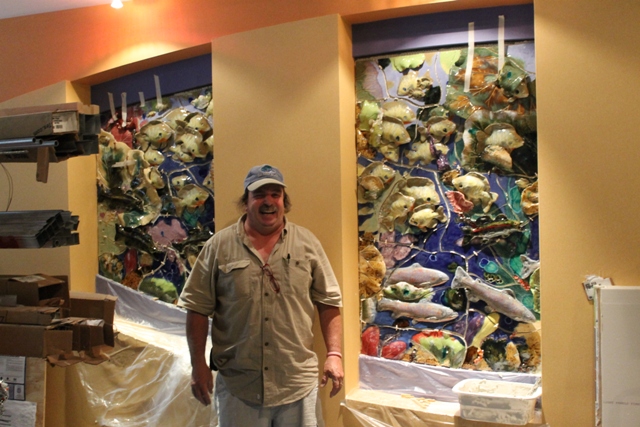
Now everyone is happy!

Done for the day.
Now for the very final step.
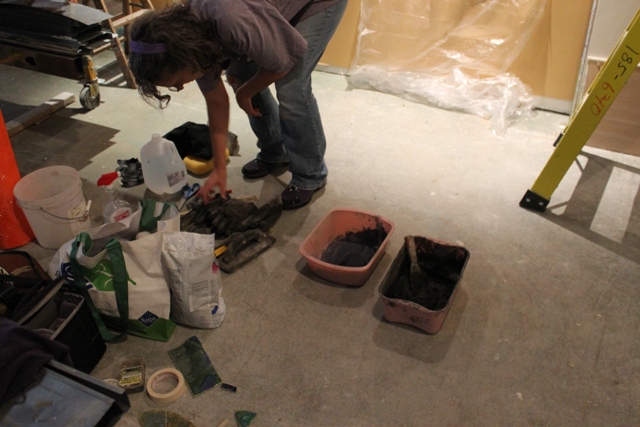
Preparing the grout.
The grout is the material that goes in the space between the tile pieces.
The grout is a bit messy, but its coming along.
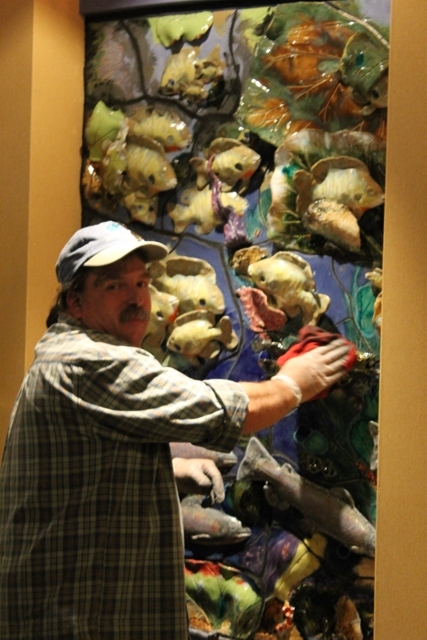
Just more cleaning.

The right panel complete!


Now its time for a long nap!
We want to thank you all for following along with us on this artistic adventure. We are very happy to share this with you, and appreciate all your kind comments.
| Back to Home Page | Back to Top of Page |
Kaye and John, All I can say is WOW!! What a masterpiece you created..Amazing!! Jan
John &Kaye you are such gifts from God! You guys work so well together. God knew what he was doing! No wonder you get so tired! I didn't realize all the steps in your creations. You have so much talent! Love you guys! Penny
Gorgeous!
Hi Kaye and John,
We are so happy that your wonderful commission turned out so beautiful…..but we never had any
question that it would just "swim" ! We are proud to have represented you in our Door County gallery for so many years and have become dear friends. Congrats! Kathy and Tom
The project is just brilliant! So proud of you and John! Congratulations!
Congratulations Kaye & John! Beautiful!! Where in the Clinic is it?
Kaye and John -
Congratulations on the completion of this amazing and humongous project! It is stunningly
beautiful. Some day I hope to see it on site.
Great work Kaye and John! I'm a middle school art teacher and this will be a wonderful tool to talk about regional art and relief sculpture! Thanks also to Jon Thrope for sending this out! Your process pictures are wonderful. Is it okay if I show the pictures to my sculpture classes?
Yes, thank you very much! – K.
We had so much fun looking through the new pictures you posted. The commission is so beautiful!!! The Lord has gifted you.
Hi John and Kaye, What great artwork!!!!!! I loved it. It was great meeting you today. Very creative process.
Have really enjoyed watching this whole thing take place. It's especially nice for a dummy like me to watch genius at work. Am really proud of you and am so happy to be a part of your life.
Dearest Kaye and John,
Your work is absolutely amazing; so unique and beautiful! Blessings on the install tomorrow and Saturday.
Hi, I''m Herni from Indonesia. I got your website from Eleanor Oltman whom I met in 1990 when she and her husband visited Indonesia, and we've been very faithful friends since then. Thank you very much for sharing the amazing work that you've been doing. It really needs creative people to be able to do everything. I'll show the link to my older son to give him some ideas of art. Thank you.
Thank you all very much for your kind comments, ideas and encouragement! It is a lot of fun sharing this process and hearing from you all. Kaye.
What a wonderful learning experience! You are truly talented. Thank you.
I agree with Bill's comment. A wonderful resource for teachers…..you could market a video of your process!
I'm very interested in where this is installed, and if it's a public facility to go and view it first hand…..commendable work that you have accomplished! Thank you for sharing this with us.
Yes it is a nationally known regional medical center. After the whole project is complete and open to the public I can release the information how they want me too so people can go to see it. Thank you so much! -K.
Eleanor sent me your link and I just wanted to stop by and say how lovely your work is and how much effort goes into it all! The colours are fabulous and I love the idea of the little bits of melted coloured glass to highlight it all. Thank you for sharing! Pollyx
This is really quite interesting. Thanks for sharing your adventure.
The pictures and text create a learning experience equal to actually being in your studio watching you.
Thank you for sharing.
This would be an excellent source for teachers to inspire students working in clay at any level. Your patience, insight and resourcefulness in producing the work is commendable.. A successful installation to you.
Hi Kaye & John, I learned a lot about your processes from viewing the photos & reading your comments, & appreciate your work even more than I do already! —Sue